
With the release of Microsoft's Granular Licensing of Office 365 Enterprise E5, a significantly large amount of new services is available to offer your clients. Whether your business is already using Office 365 and simply upgrading another license SKU to E5, or is migrating to Office 365 for the first time, oftentimes simply applying all of the available options for the businesses client base is ok. In other scenarios, a more systematic and staged approach is required.
This scenario can sometimes cause headaches and is the main topic of which I would like to discuss. In this two-part series, I will discuss how to upgrade your E3 licenses to E5 via the admin portal, with the first part of this series staying focused on the workflows used through the Office 365 Admin Portal, and the second part of this series focusing on the workflows used through PowerShell.
Starting off, let us first look at a comparison of the available services between the ENTERPRISEPACK E3 SKU, and the ENTERPRISEPREMIUM E5 SKU.
| Service | ENTERPRISEPREMIUM (E5) | ENTERPRISEPACK (E3) |
| Office 365 Advanced eDiscovery | X | |
| Customer Lockbox | X | |
| Delve Analytics | X | |
| Sway | X | |
| Exchange Online Advanced Threat Protection | X | |
| Skype for Business Cloud PBX | X | |
| Skype for Business PSTN Conferencing | X | |
| Power BI Pro | X | |
| Mobile Device Management for Office 365 | X | |
| Office 365 Planner Preview | X | |
| Azure Rights Management | X | X |
| Yammer | X | X |
| Office 365 Pro Plus | X | X |
| Skype for Business Online | X | X |
| Exchange Online | X | X |
| SharePoint Online | X | X |
| Office Online | X | X |
As you can see, quite a few services have been added to the newer E5 SKU.
Microsoft, in their always ongoing improvement of the O365 Admin portal and it’s features, has made the task of granularly licensing multiple user accounts easier in the portal when you have smaller sets of users which can be seen on the same page and selected for a bulk edit. Microsoft has also done a very nice job of allowing customized views to be created in the portal so that if you need to modify a group of people, say by department, you can first create this unique view, select it in the portal, and then select all of the user accounts to perform a license modification.
Let us review together how to create a customized view in the Office 365 Admin portal, to group together similar accounts based on the 'Department' attribute, and then upgrade their license to an E5 license but only certain services.
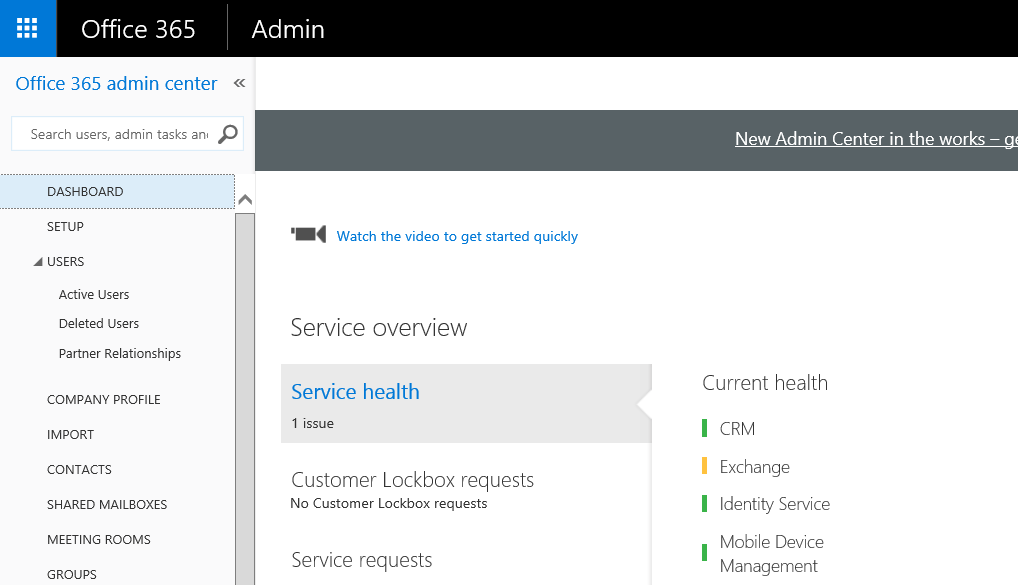
Log in to your Office 365 portal and select the Admin page for viewing.

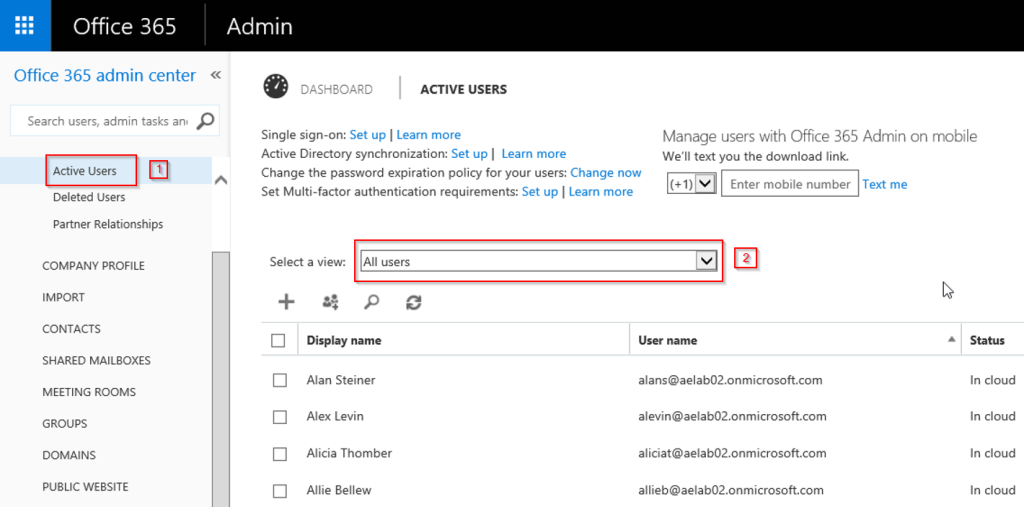
In the Admin Page in the left hand pane, left click on 'Active Users' under the 'Users' section. In the right hand pane, drop down the choices in the 'Select a View:' section.
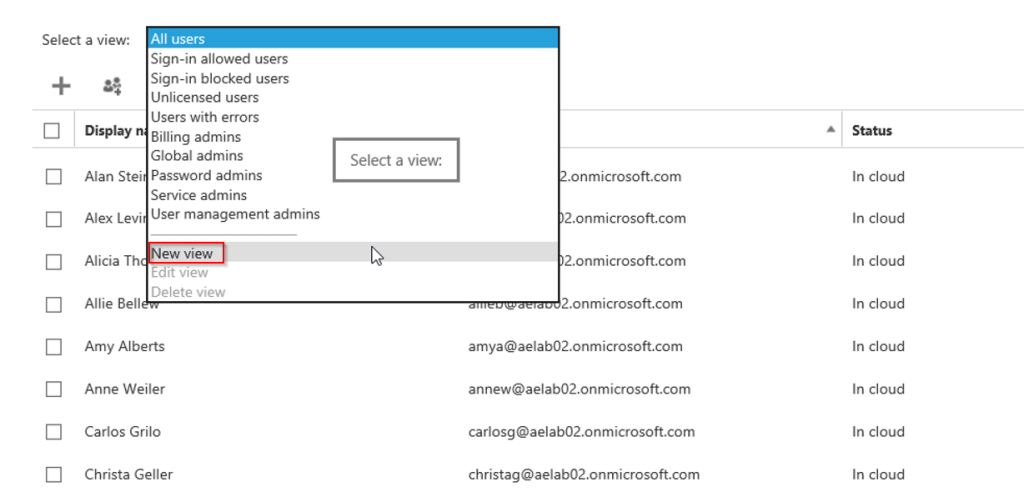
In the drop down menu, select 'New View'
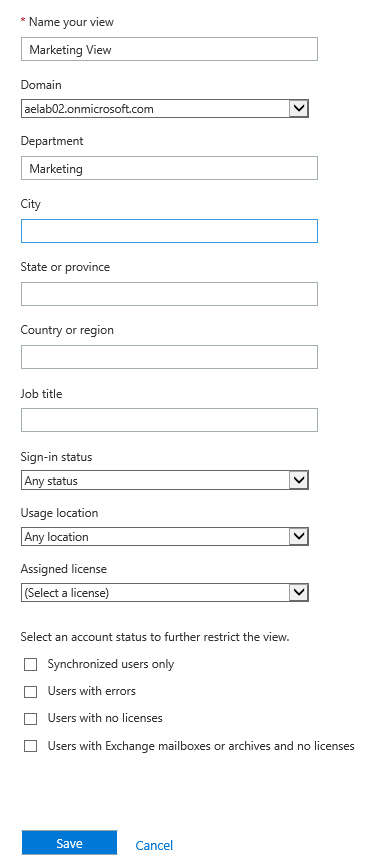
Once the new view window opens up, begin populating the information for the new view. In our example below, we will title our new view 'Marketing View'. Next, we type the word 'Marketing' in the Department field to scope our search for any user account with the word 'Marketing' in their Department field.
** NOTE ** this scoping match is an exact match but is not case sensitive. So while accounts with just the word 'Marketing' in their department field will be found, it will not scope on an entry like 'Corporate Marketing'
After you have typed in all the information you want, click on 'Save'.
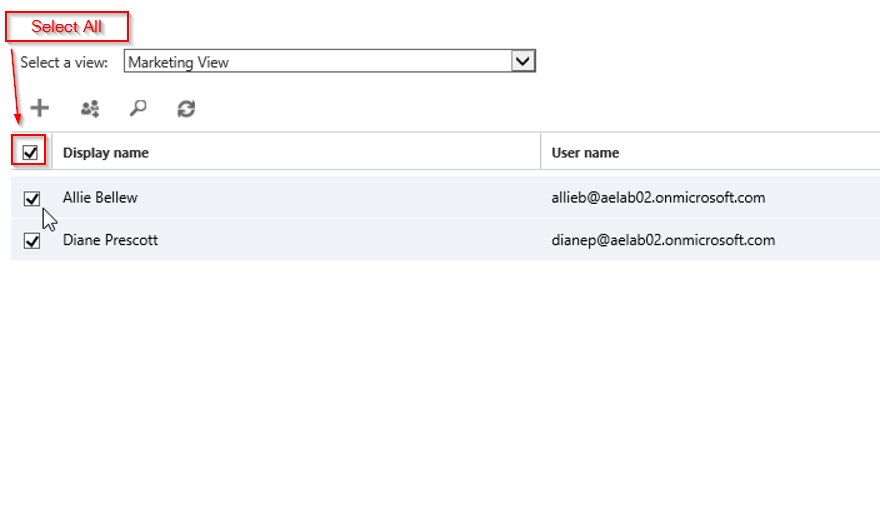
Now back in the Admin portal, select your 'Marketing View' and you will see all accounts which have the word 'Marketing' in their department field.
Next, select all of your user accounts by selecting the 'select all' check box.
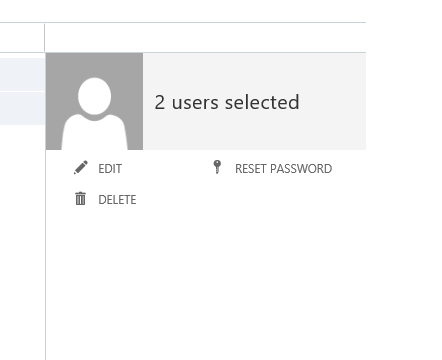
In the right hand pane, select 'Edit'
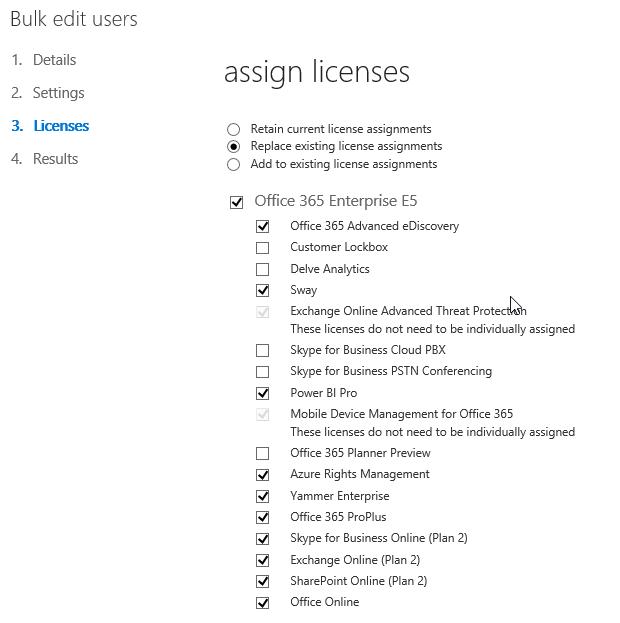
Once you select 'edit' you can then click on the 'Next' button twice at the bottom of the page to take you to the licensing page.

On the licensing page, you would want to select 'Replace existing license assignments'. In this example, we are upgrading user accounts SKU licenses from E3 to E5 and only adding Office 365 Advanced eDiscovery, Sway, and Power BI Pro from the Enterprise E5 list.
Once you have made your selections, at the bottom of the page, select the 'Submit' button
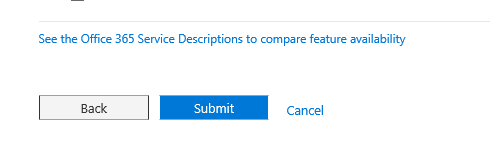
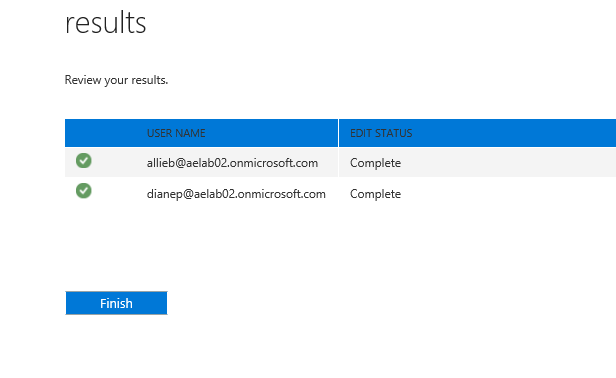
Once submitted you should receive the results soon after confirming your change.
This feature, to granularly bulk edit user account licenses through the portal, is only helpful when there are a small number of users to update as the viewing pane is currently limited to only 20 user accounts at a time. As of the posting of this article, the portal is unable to remember selected accounts from page to page. Therefore, if you try to select a few user accounts from the first page, move to the second page, and try to select a few more user accounts, the portal will not remember what accounts were selected from the first page.
So what do you do when you want to bulk edit 2000 user accounts with no common denominator from which to scope from? It is in this scenario that PowerShell truly shines and comes to the rescue.
In part two of this series, I will discuss the new E5 licenses to choose from in PowerShell, and how to perform bulk edits the Azure AD accounts.
Written and composed by one of our Senior Microsoft System Engineers, Alex Levin

